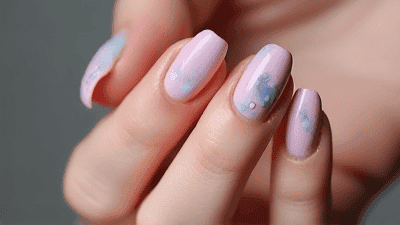
In the world of nail art, trends come and go, but one style that has consistently remained chic and fresh is the use of negative space. This minimalist approach focuses on leaving parts of your natural nail exposed while adding artistic elements, colors, and designs. Negative space nail art allows for creativity without the overwhelming look of fully painted nails, making it perfect for those who appreciate simplicity and elegance. In this comprehensive guide, we will explore the art of negative space, discuss various techniques, and provide stunning minimalist nail art ideas for you to try.
Negative space refers to the untouched areas of the nail that are not covered with polish or nail art. It effectively creates contrast between the painted elements and the exposed nail, allowing for clean lines and striking designs. This technique draws attention to the nail’s natural beauty while incorporating artistic touches. Here are some reasons why negative space nail art is a great choice:
Negative space designs are inherently minimalist, allowing for a clean and sophisticated look. This aesthetic is perfect for those who prefer a subtle yet stylish approach to nail art.
Negative space nail art can be adapted to suit any season, occasion, or style. You can mix and match colors, shapes, and designs to create a look that perfectly reflects your mood and personality.
Many negative space designs are relatively simple and can be done at home without advanced skills. This accessibility makes it an excellent choice for beginners and experienced nail artists alike.
Negative space nail art has become a fashionable trend, embraced by nail artists and influencers around the world. This design approach remains timeless, ensuring that your nails will always look modern and fresh.
To get started with negative space nail art, it’s important to have the right tools and products. Here is a list of essentials to help you achieve stunning designs:
Nail Polish: Invest in a variety of colors, including neutrals, pastels, and bold shades for accents. The key is to have a good balance of colors to work with.
Base Coat: A quality base coat protects your natural nails and improves polish adhesion.
Top Coat: A top coat not only provides shine but also helps protect your design from chipping and fading.
Striping Tape: Thin striping tape is essential for creating clean lines and geometric designs.
Nail Art Brushes: A fine-tipped nail art brush is crucial for detailing and precise designs.
Dotting Tools: These tools are great for creating dots and small patterns.
Scissors: A good pair of nail scissors is useful for cutting tape or shapes for your designs.
Makeup Sponges: These can be helpful for blending colors or creating gradient effects.
Nail Stamping Kit: If you want to incorporate intricate designs quickly, a stamping kit can be a valuable addition.
Cotton Pads and Acetone: These are necessary for cleanup during and after your nail art process.
Before diving into negative space nail art, proper nail preparation is crucial for achieving the best results. Here’s how to get your nails ready:
Start by washing your hands thoroughly and removing any old nail polish. Make sure your nails are clean to allow for better adhesion of the base coat.
Use a nail clipper to trim your nails if needed and file them into your desired shape, whether that’s square, oval, or almond.
Gently push back your cuticles using a cuticle pusher or an orangewood stick. This creates a clean foundation for your nail art.
Lightly buff the surface of your nails with a nail buffer to create a smooth canvas for your polish. This step enhances adhesion and improves the overall appearance.
Finish the preparation by applying a thin layer of base coat. Allow it to dry completely before moving on to your nail art.
The beauty of negative space nail art lies in its simplicity and versatility. Here are some techniques to create stunning designs:
Creating geometric shapes is one of the easiest ways to incorporate negative space into your nail art.
The half-moon design highlights the base of the nail, making it a stylish and eye-catching choice.
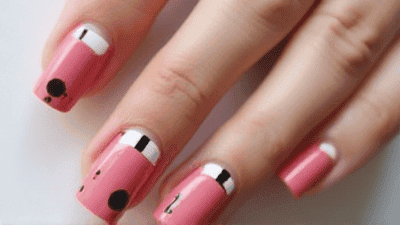
Dots are a classic design element that can easily incorporate negative space.
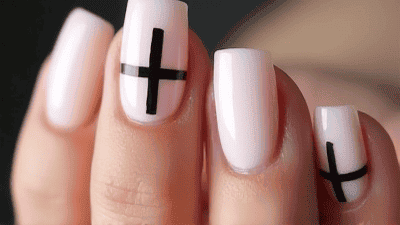
Using stripes can help create a striking contrast between nail polish and exposed nail.
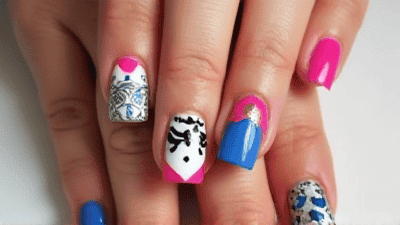
Abstract designs allow for creative expression by combining shapes, colors, and negative space.
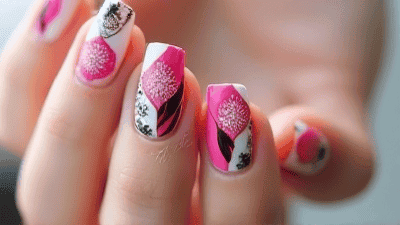
Incorporating floral designs can result in a soft and feminine aesthetic.
Creating an ombre effect while utilizing negative space adds dimension and intrigue to your manicure.
Now that you have learned various techniques for negative space nail art, here are some creative design ideas to inspire your next manicure:
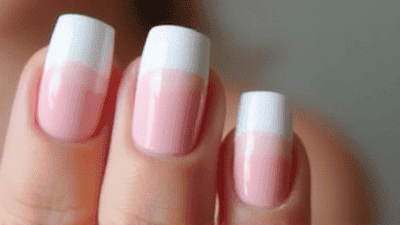
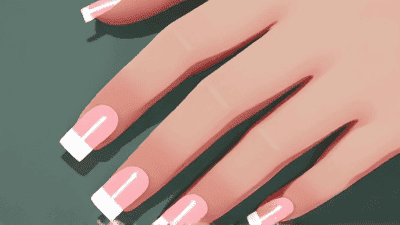
Instead of the traditional French manicure, give it a twist by incorporating negative space at the tips. Use a nude base and paint only the tips with a bold color or glitter.
Mix and match colors using negative space to create a color-blocking effect. Use striping tape to section off different areas of the nail, painting each section with a different color.
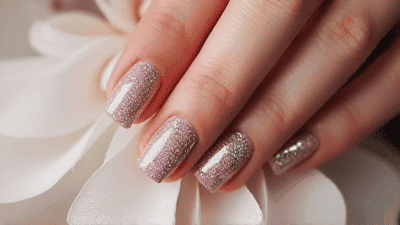
Create a stunning look by combining negative space with glitter. Paint the base of your nails with a clear or neutral polish and add glitter to random sections, leaving some areas bare.
Keep it simple with minimalist designs that showcase negative space. Use a fine brush to create thin lines, dots, or small shapes, allowing the natural nail to serve as part of the design.
Paint triangle shapes at the tips or sides of your nails, leaving the center part exposed. This design is both trendy and sophisticated.
Create a playful confetti dot design by leaving some areas of the nail bare. Dot different colors around the nail, ensuring some of the natural nail remains visible.
Incorporate gold or silver foil into your negative space designs for added flair. Paint your nails with a base color and then use the foil to create eye-catching patterns in the exposed areas.
Leave negative space to create a delicate leaf or vine design on a neutral base. Use a fine brush to sketch the leaves, allowing parts of the nail to show through.
Experiment with various geometric shapes such as hexagons or diamonds. Utilize negative space creatively by outlining the shapes in a contrasting color.
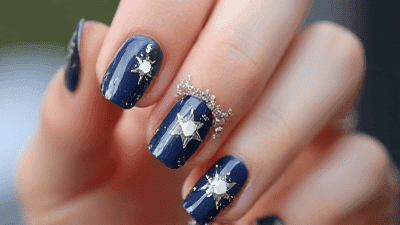
For a playful and dreamy design, paint clouds and stars on a light base color while keeping some sections of the nail bare to represent the sky.
As with any nail art technique, you may encounter challenges. Here are solutions to common issues:
If your lines appear uneven, practice is key. Use striping tape for creating precise edges, and steady your hand while painting.
To avoid smudging your designs, ensure each layer is dry before moving on to another. Consider using a quick-dry topcoat to seal designs faster.
When removing striping tape, do so while the polish is still wet to prevent peeling. If your base coat is thick, consider a thinner application for better results.
Using a fine nail art brush can make a world of difference in detail work. Practice with dotting tools or stencils to improve your precision.
To maintain vibrant colors, apply a top coat to seal in the design. Store your polishes in a cool, dark place to prevent them from fading.
While creating stunning nail art is enjoyable, maintaining healthy nails is equally important. Here are some essential nail care tips:
Keep your nails and cuticles hydrated by applying cuticle oil daily. This prevents dryness and cracking of the cuticles.
Allow your nails to breathe by taking breaks between manicures. This helps maintain nail strength and prevents discoloration.
Opt for acetone-free nail polish removers and gentle base and top coats that protect your nails from damage.
A diet rich in vitamins, minerals, and proteins supports healthy nail growth. Foods high in biotin and zinc can particularly benefit nail health.
Wear gloves when doing household chores or working with harsh chemicals to keep your nails safe from damage.
The art of negative space nail art is a wonderful way to express your creativity and maintain a minimalist style. As a beginner, remember that practice is essential, and trying new techniques will help you develop your skills over time.
Embrace the elegance of negative space and experiment with various designs. Combine colors, shapes, and patterns to create looks that reflect your personal style. Nail art can be a rewarding and relaxing activity, so enjoy the process of discovering your artistic side.
With this guide in hand, you are ready to delve into the world of negative space nail art. Gather your tools, unleash your creativity, and let your nails become a canvas for your unique expression. Happy painting!